Intelligent Bot in a Native iOS and Android app
This is a quick tutorial where we’ll create and publish a new intelligent Bot that uses machine learning and natural language understanding to answer questions about Microsoft Bot Framework. Then we’ll create a native iOS and Android app to interact with our bot. Let’s get started!
Setup: Accounts & Subscriptions
To get started, you’ll need to create/login to a few accounts. (don’t worry, they’re all free)
Microsoft Azure
We’ll be using Azure Bot Service, so you’ll need an Azure account. If you don’t already have one, you can create a free Azure account here.
Microsoft Bot Framework
Create or login to your Microsoft Bot Framework account. Even if you already have an account, make sure to login, as it’ll simplify setting up your bot in Azure.
QnA Maker
Create or login to your QnA Maker account. Even if you already have an account, make sure to login, as it’ll simplify setting up your bot in Azure.
Azure Bot Service
Next, we’ll use Azure Bot Service to build our bot.
Create an Azure Bot Service
Click here to create a new Azure Bot Service resource in the Azure portal
App name: This will be your bot’s default name, and the first part of your bot’s url
Subscription: Choose the subscription you want to use from the drop-down
Resource Group: Leave “Create new” selected, and leave the value the same as App name
Location: Choose the location that best describes your current location
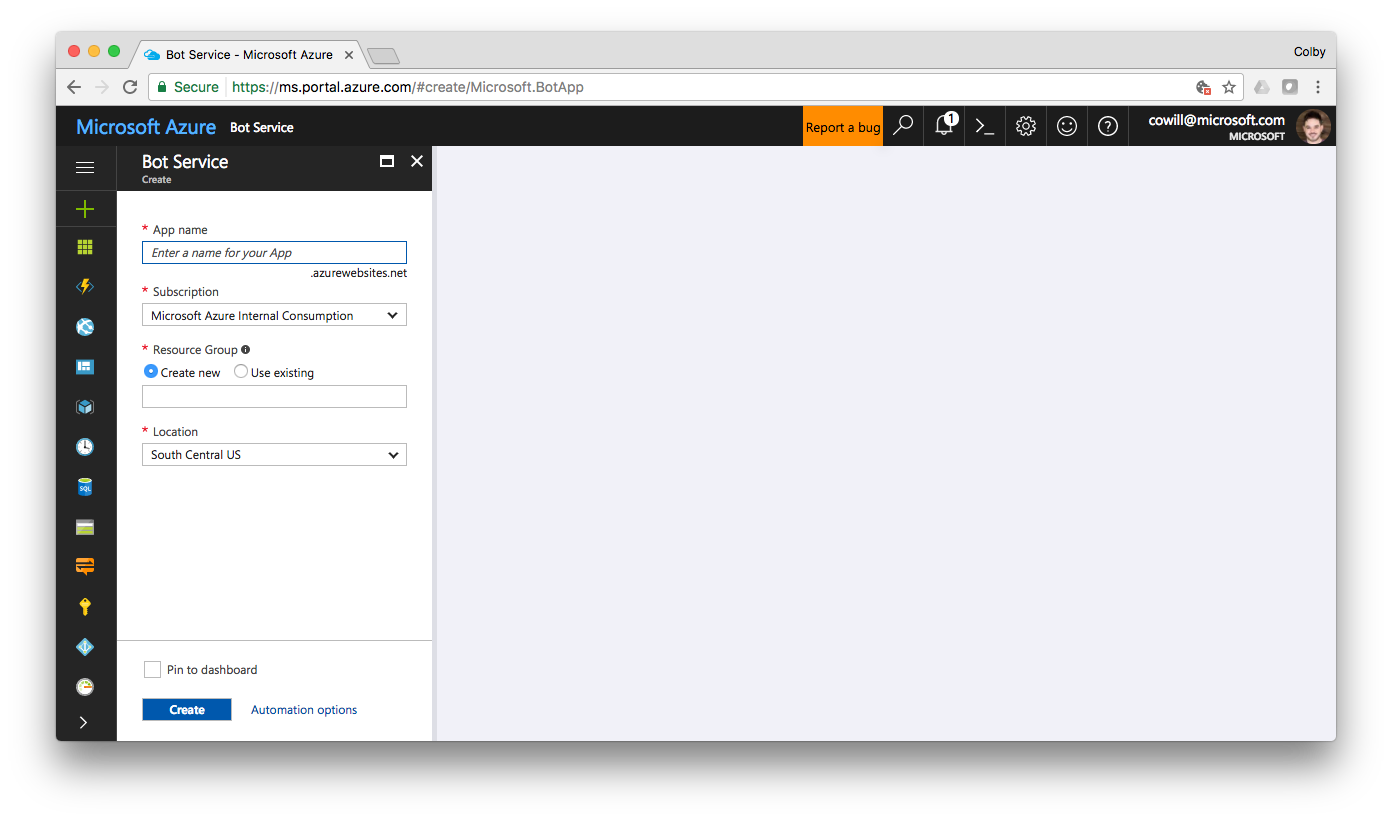
Click Create to create and deploy your new Azure Bot Service.
Configure your bot
Once your bot is finished deploying, open it in the Azure portal. You can click here to see a list of your resources where you’ll find your new Azure Bot Service.
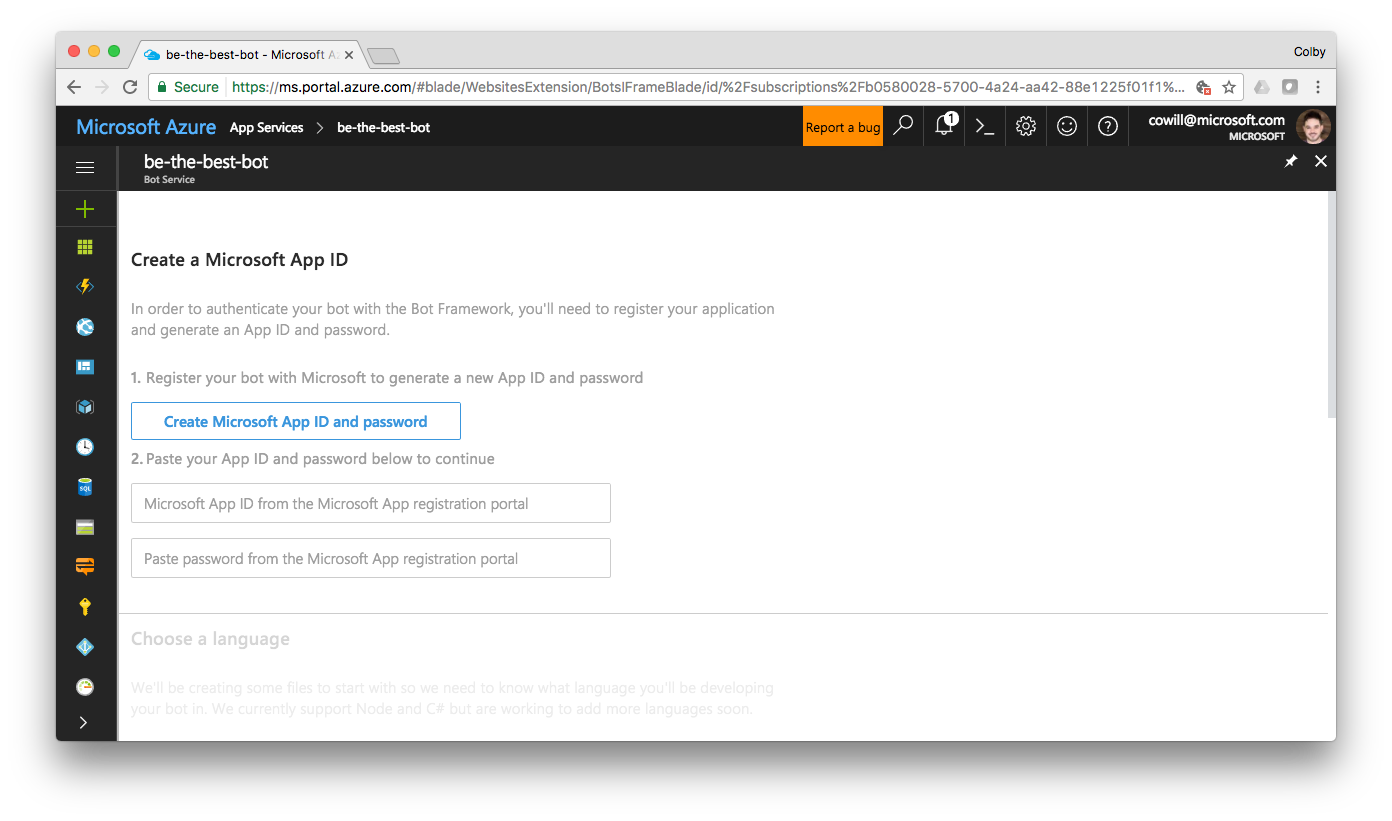
Click Create Microsoft App ID and password

This should open a new tab displaying your new App name and App ID. (If you’re prompted to login, make sure you login with the same email address you used to create your Microsoft Bot Framework account).
Next, click Generate App ID and password to show a pop-up displaying your new password. Copy the password to your clipboard and click Ok.
Make sure to store the password somewhere safe now as you will not be able to see it again.
Click Finish and go back to Bot Framework. This should close the tab and return you to the Azure portal with new App ID already be filled in.
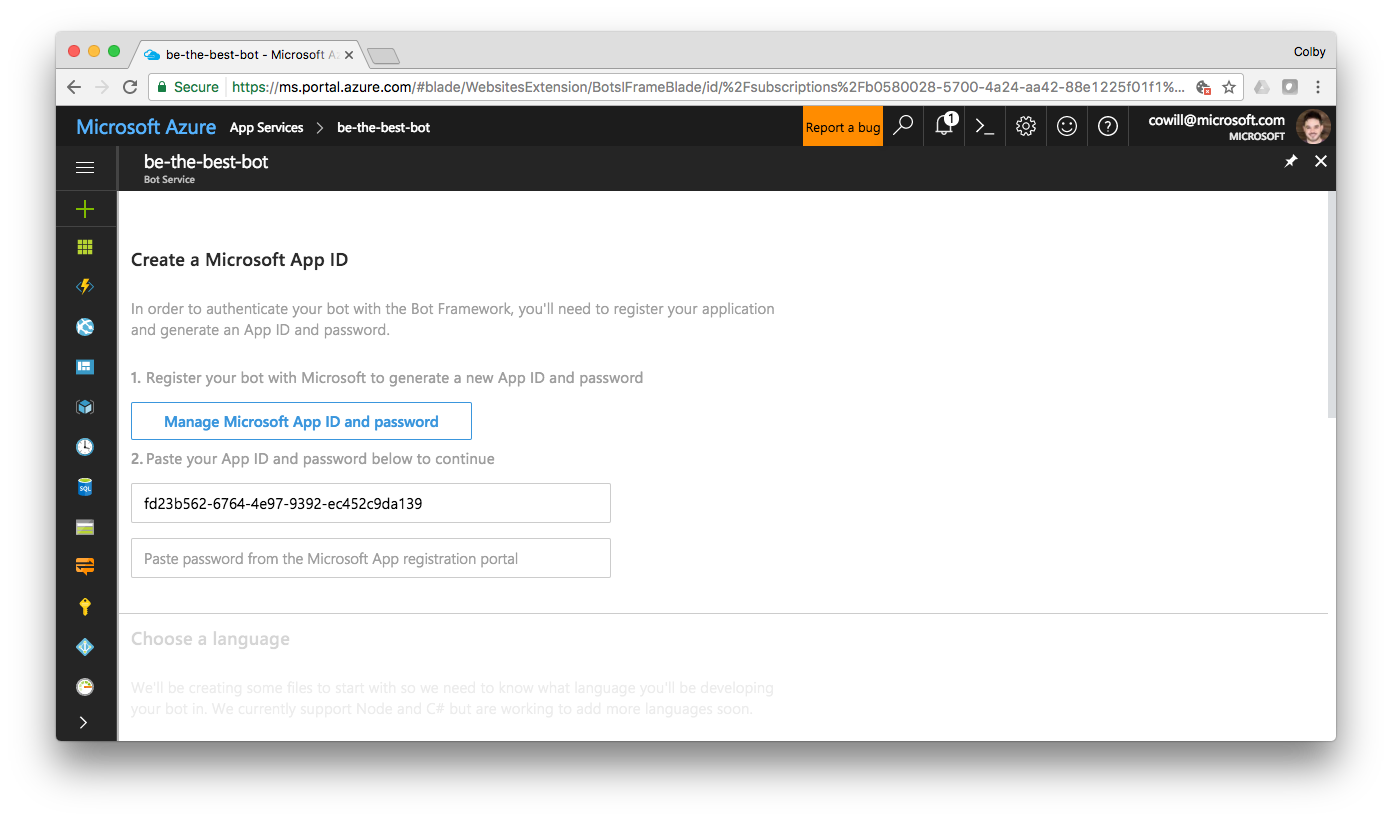
Paste your new App password into the password field. Then, under Choose a language, select the language to write your bot in.
Note: I’ll be using C#, but you should be able to complete this sample using NodeJS as well.
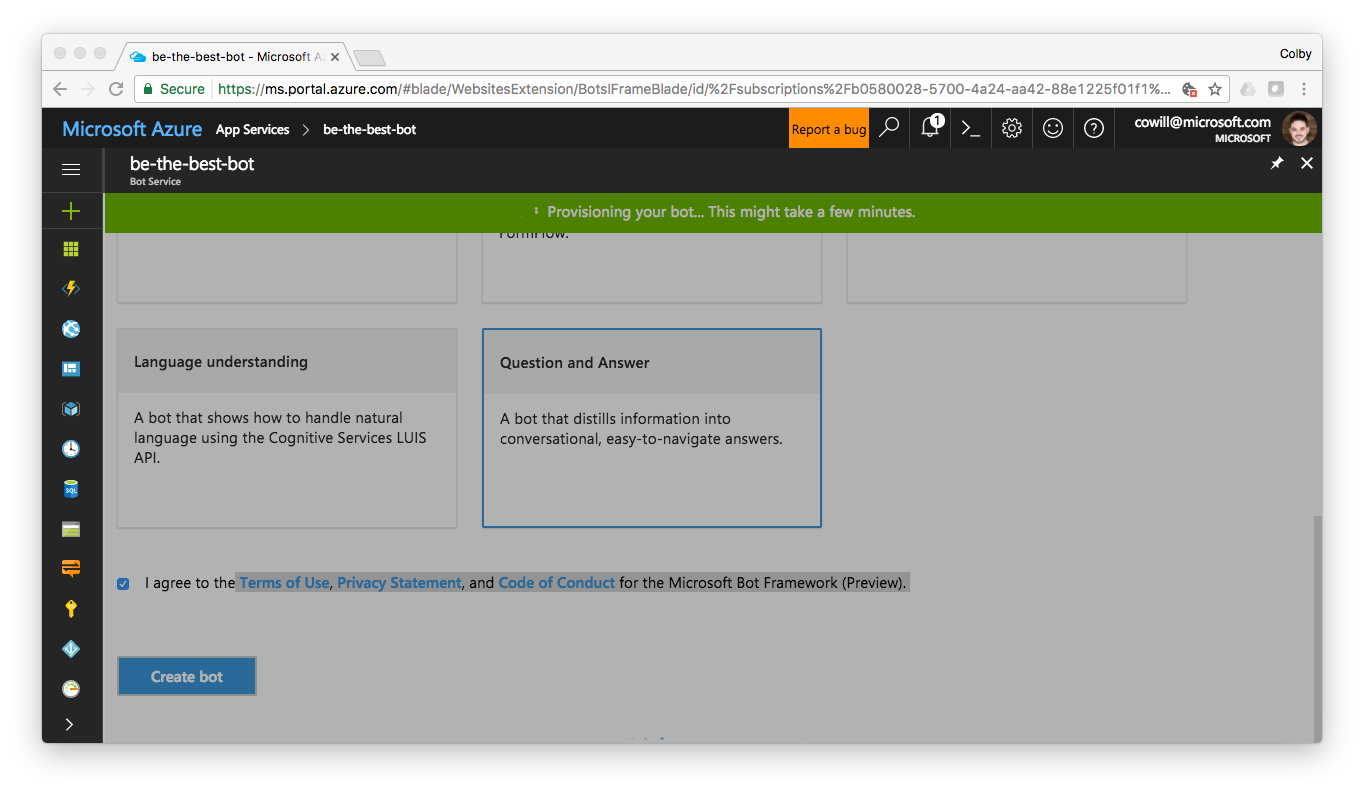
Choose the Question and Answer template under Choose a template, agree to the Terms of Use, Privacy Statement, and Code of Conduct for the Microsoft Bot Framework (Preview), and click Create bot.
You should be presented with a pop-up dialog to Connect Azure Bot Service to QnA Maker. If not, make sure you’re logged in to your QnA Maker account, and you’re not blocking the associated cookies
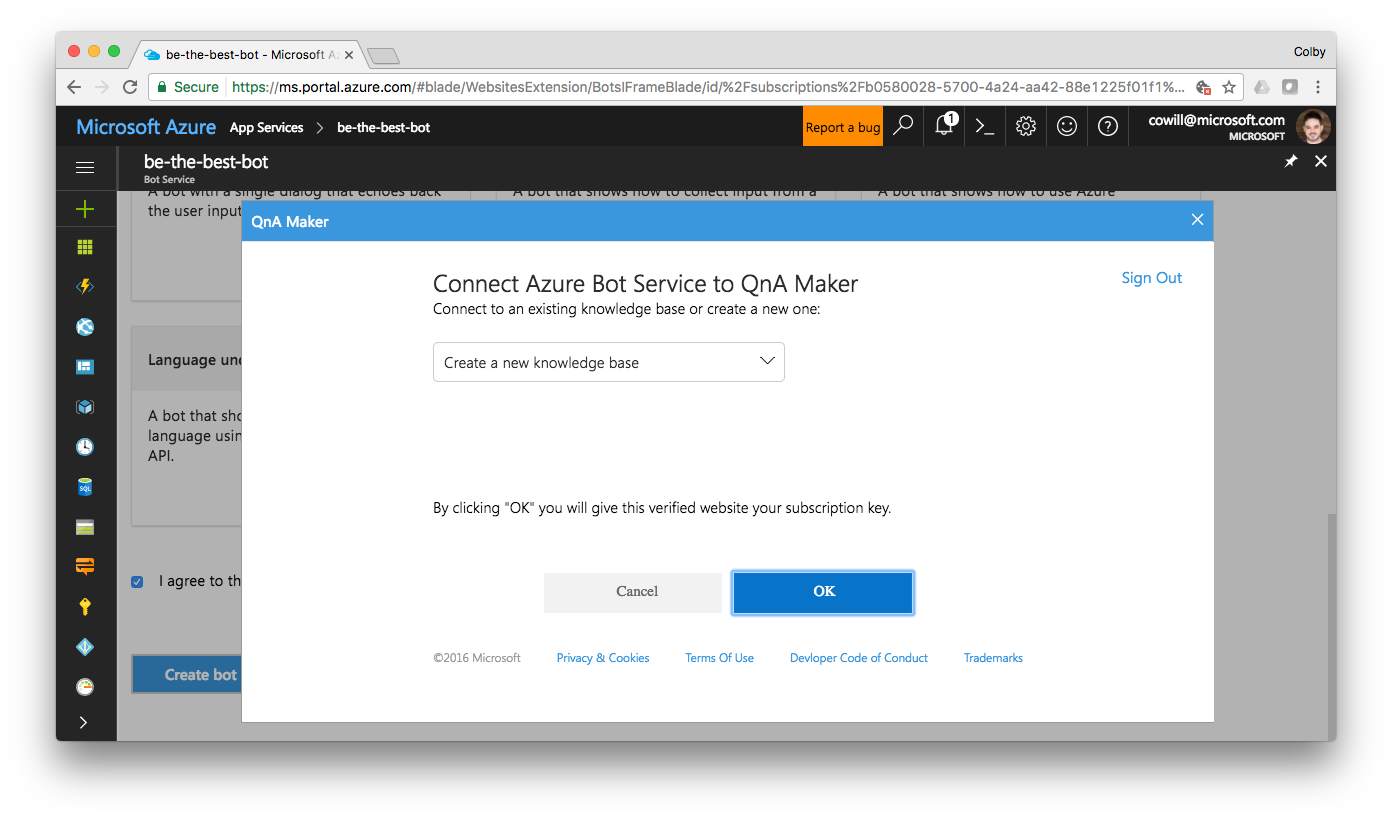
Leave (or select) Create new knowledge base selected in the drop-down menu and Click OK. You should see a green banner across the top of the Azure portal letting your know your bot is being provisioned.
Train your QnA service
Now that your bot is set up and pointing to a new QnA service, we’ll need to teach the QnA service some, well… questions and answers.
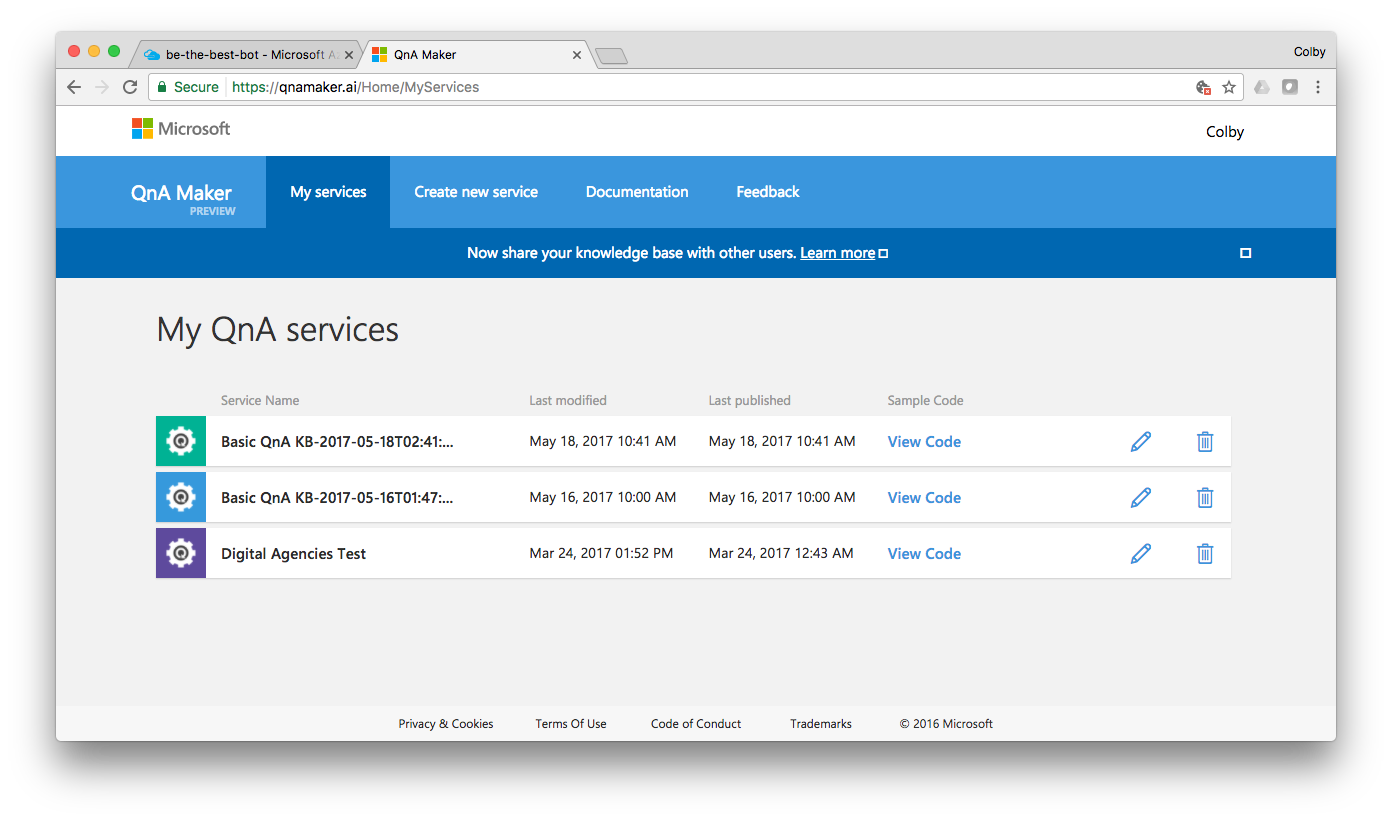
Click here to view a list of your QnA services, and select edit icon next to the service you just created. It’ll likely be name something like “Basic QnA KB-2017-05…“.
On the left hand side of the dashboard, select Settings
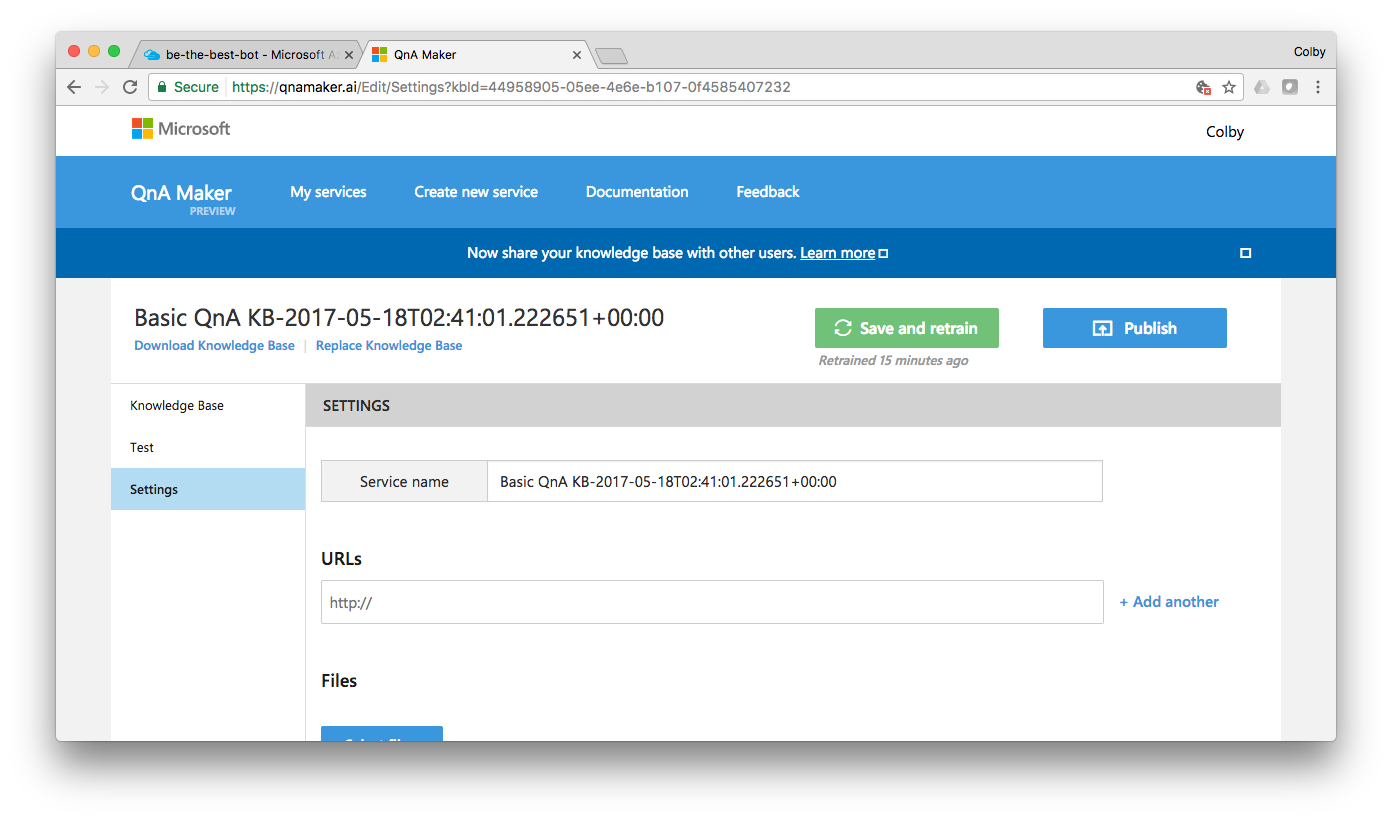
Paste the following urls into the URLs section. (Note: you’re free to use any FAQ urls you want, it won’t prevent you from completing this sample)
- https://docs.microsoft.com/en-us/bot-framework/resources-bot-framework-faq
- https://docs.microsoft.com/en-us/bot-framework/troubleshoot-general-problems
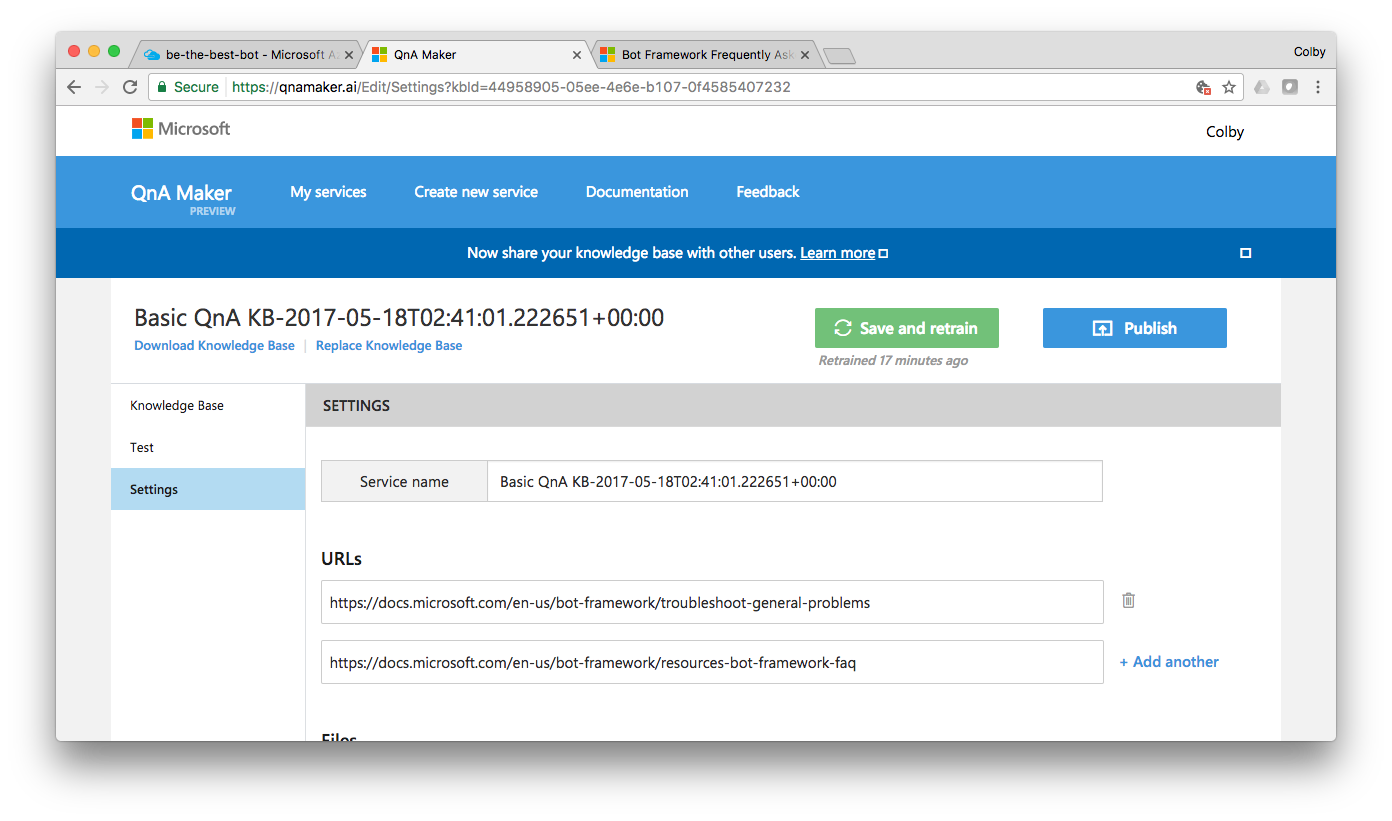
Click Save and retrain, then click Publish. You’ll be presented with a screen showing the changes to your services knowledge base that will be published.

Click Publish.
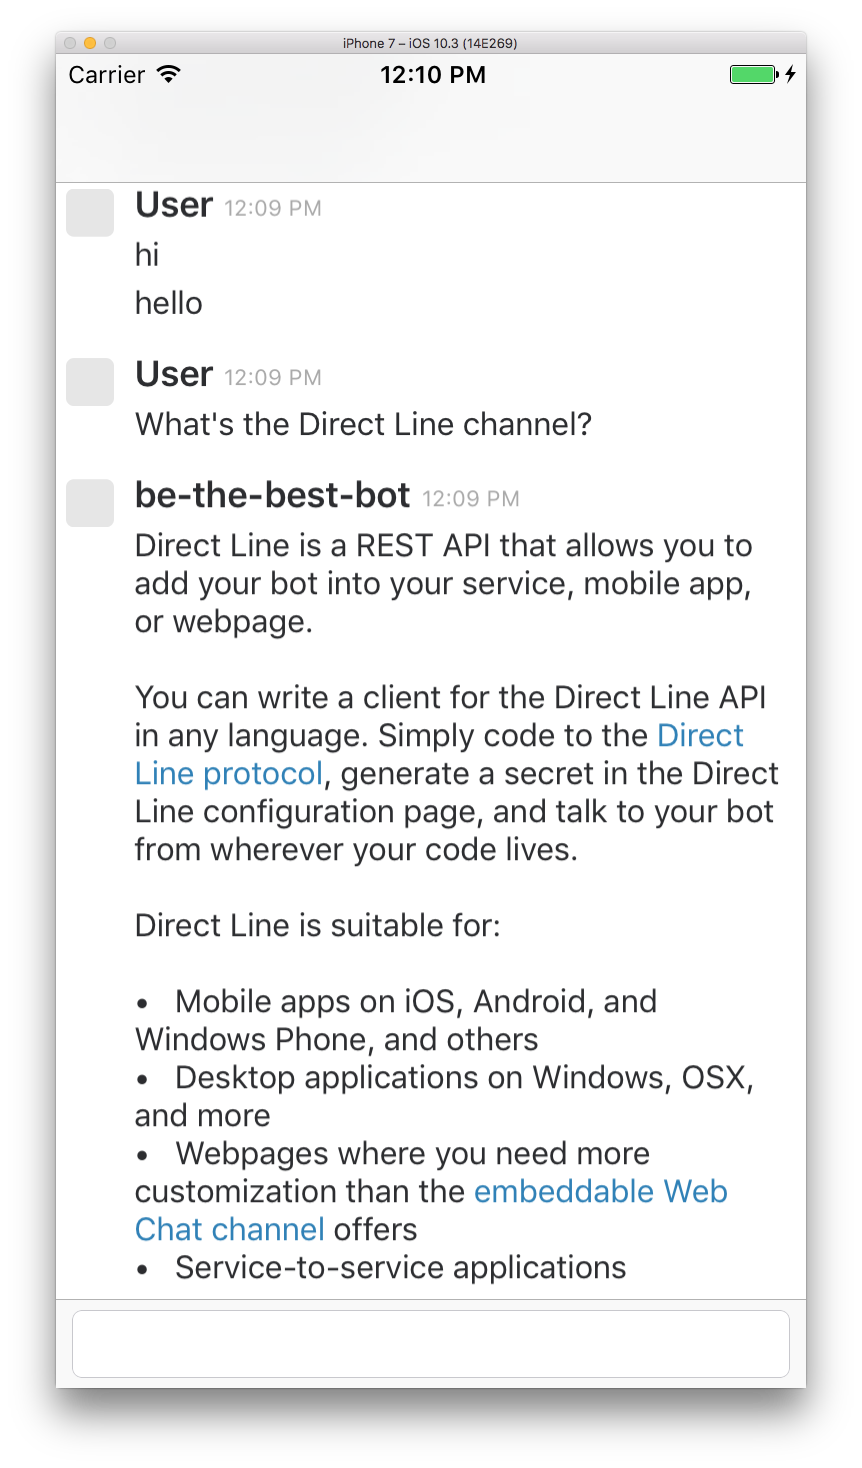
Test your bot
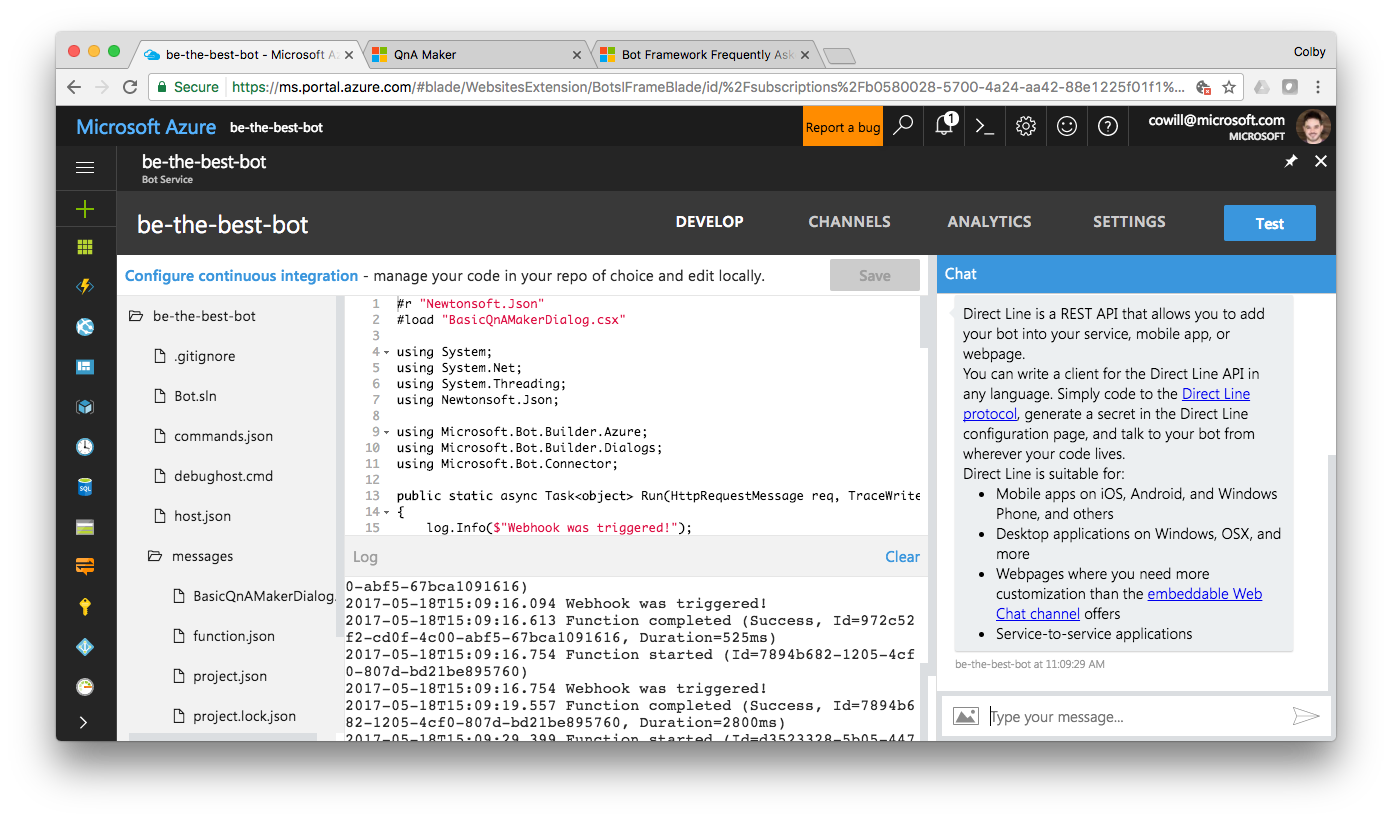
Return to your Azure Bot Service in the Azure portal and click Test in the top right to open a web chat with your bot.
- Type
Hiin the chat window and press return - Type
What's the Direct Line channel?and press return
Create a Native Mobile App
To complete this step you’ll need to have Visual Studio for Mac. You can download and install it here.
Now we’ll create a native iOS and Android app to interact with our bot. I’ve created a custom Project Template for Visual Studio that sets everything up automatically. We’ll set that up first.
Install NomadCode.ProjectTemplates extension
Here’s how to install NomadCode.ProjectTemplates:
- Download the
.mpackfile under the Downloads section of the latest release of NomadCode.ProjectTemplates - Launch Visual Studio for Mac, open the Visual Studio menu and select Extensions…
- In the bottom left of the Extension Manager dialog, click Install from file…
- Choose the
.mpackfile you downloaded in step 1 - When prompted, select Install
- Once installation is complete, click “Ok” and close the Extension Manager dialog
Create new App
Now we’ll create our mobile app solution.
In Visual Sudio for Mac, got to File -> New Solution… (or Shift + ⌘ + N). Then, in the New Solution dialog’s left column, select App (under Multiplatform) then Native Bot (iOS, Android) and click Next.
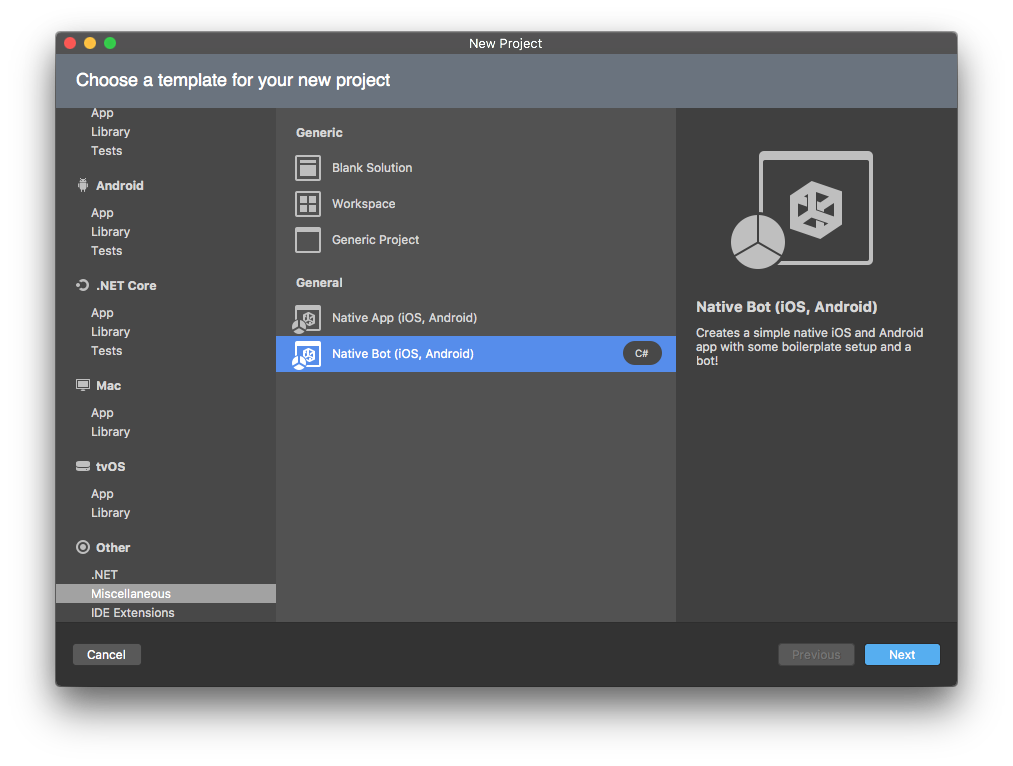
Note: Depending on the version of Visual Studio for Mac, this project type may be under Other -> Miscellaneous -> General instead
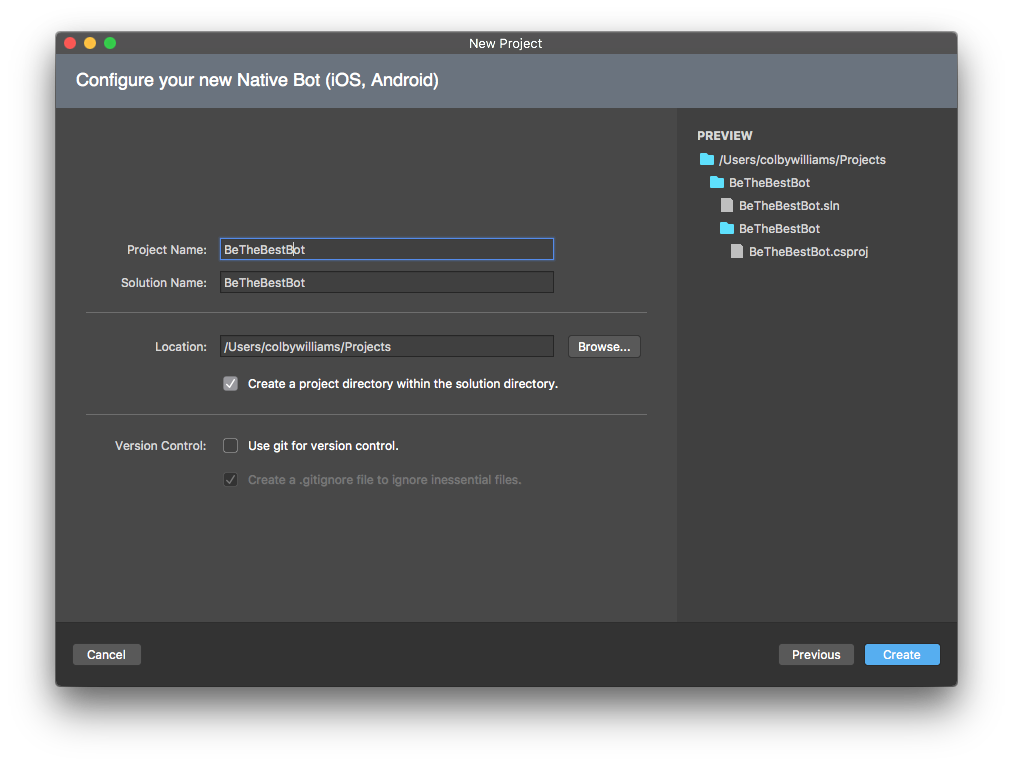
Finally name your project, choose a location, and click Create.
Enable Direct Line channel
Your app will communicate with your bot via the Direct Line channel, so we’ll need to enable that back in the Azure portal.
Return to your Azure Bot Service in the Azure portal, and click CHANNELS in the top right to configure the channels your bot supports.
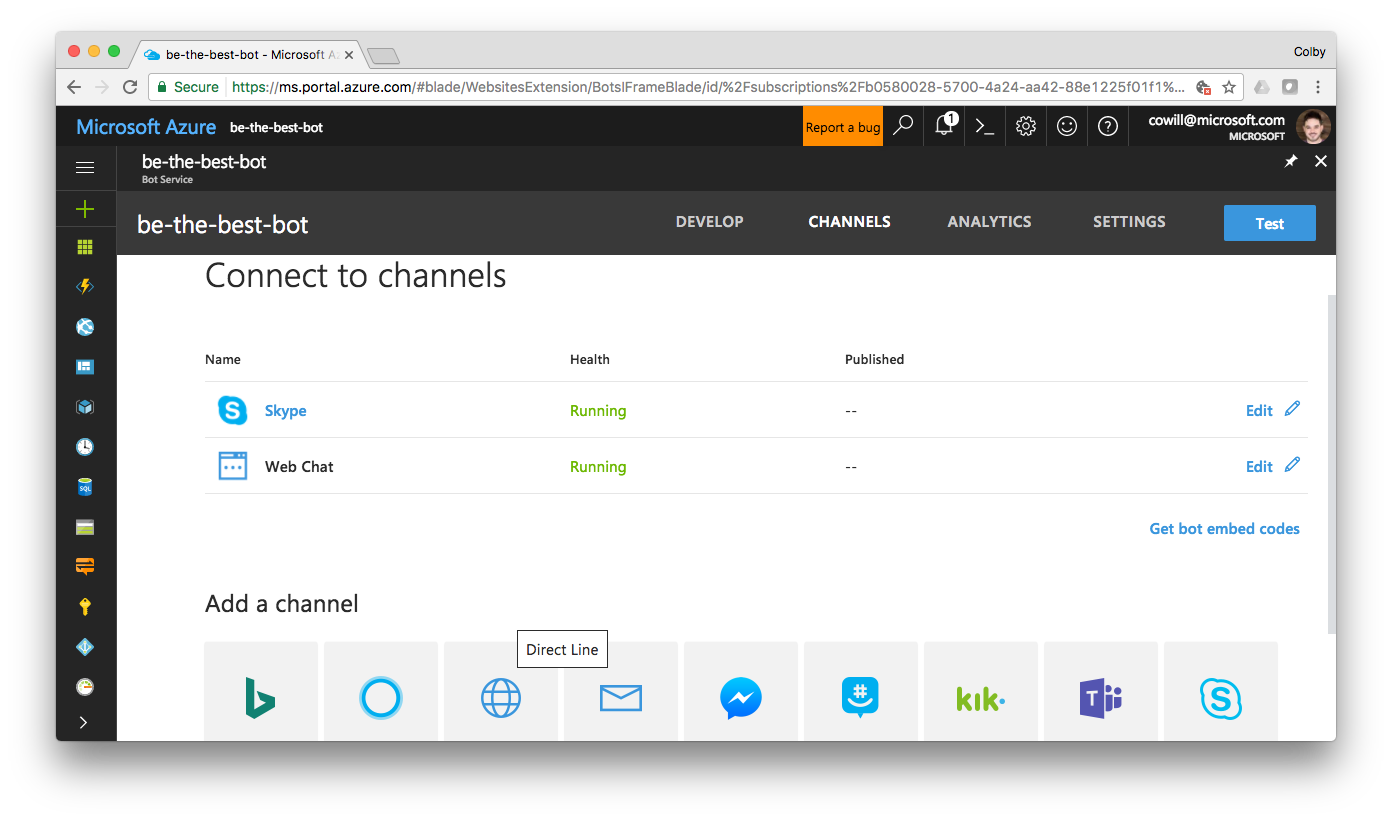 Under the Add a channel section, select the Direct Line channel.
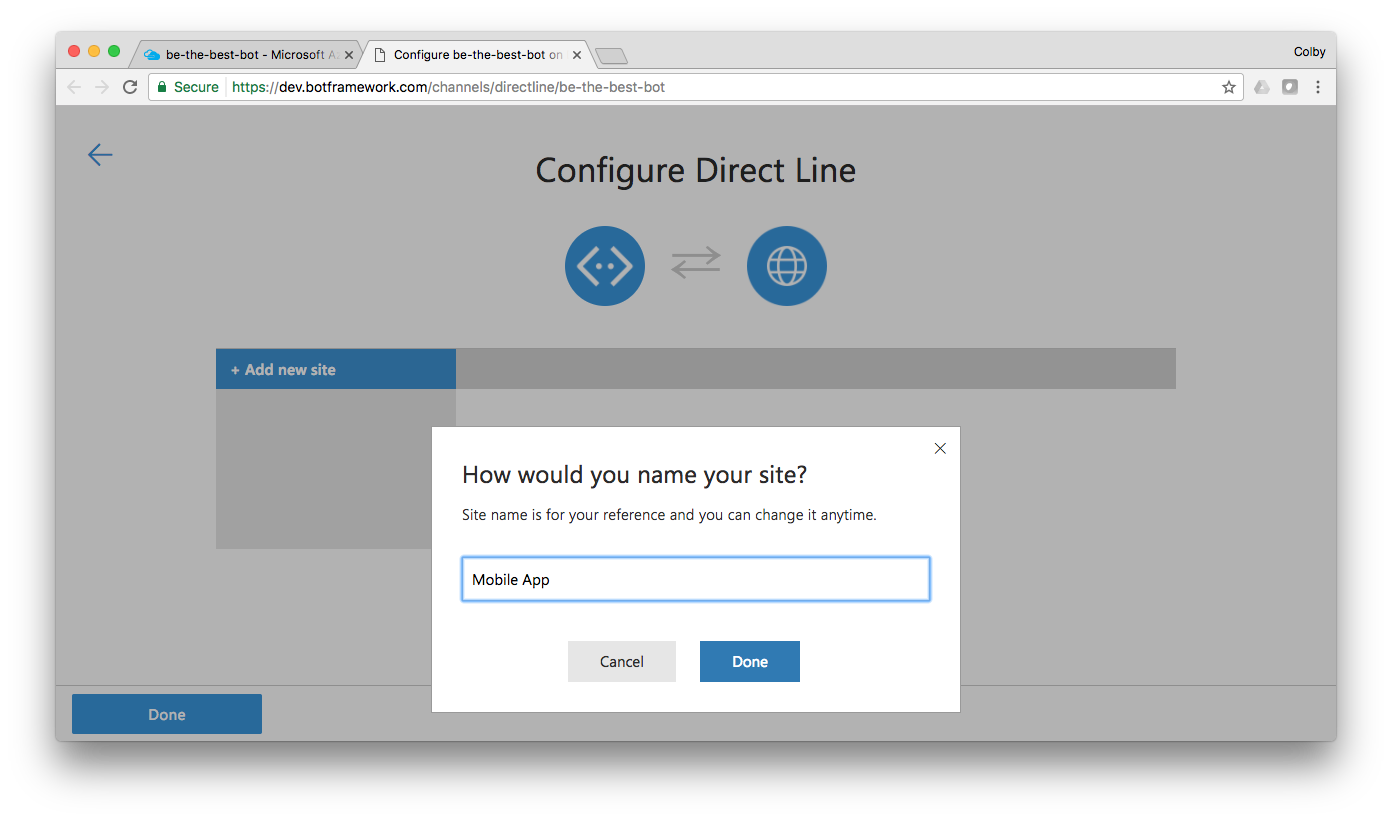
This should open a new tab to Configure Direct Line. If it does not, make sure you’re logged in to your Microsoft Bot Framework account, and you’re not blocking the associated cookies.
 On the Configure Direct Line page, click + Add new site in the left column and enter `Mobile App into the Name your site field and click Done.
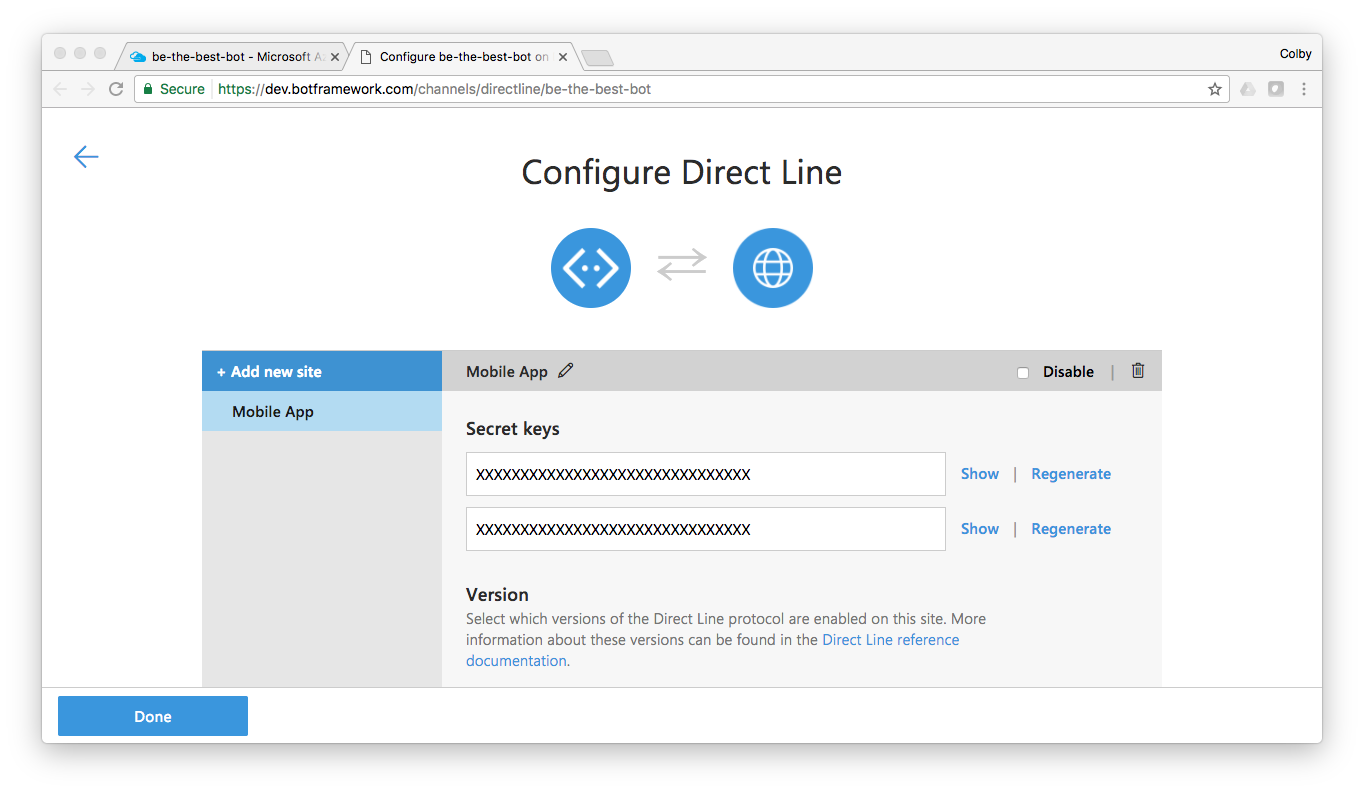
You should now see two Secret keys. Click Show next to one of the keys, Copy the key to your clipboard, then click Done
Add Direct Line Secret to Mobile App
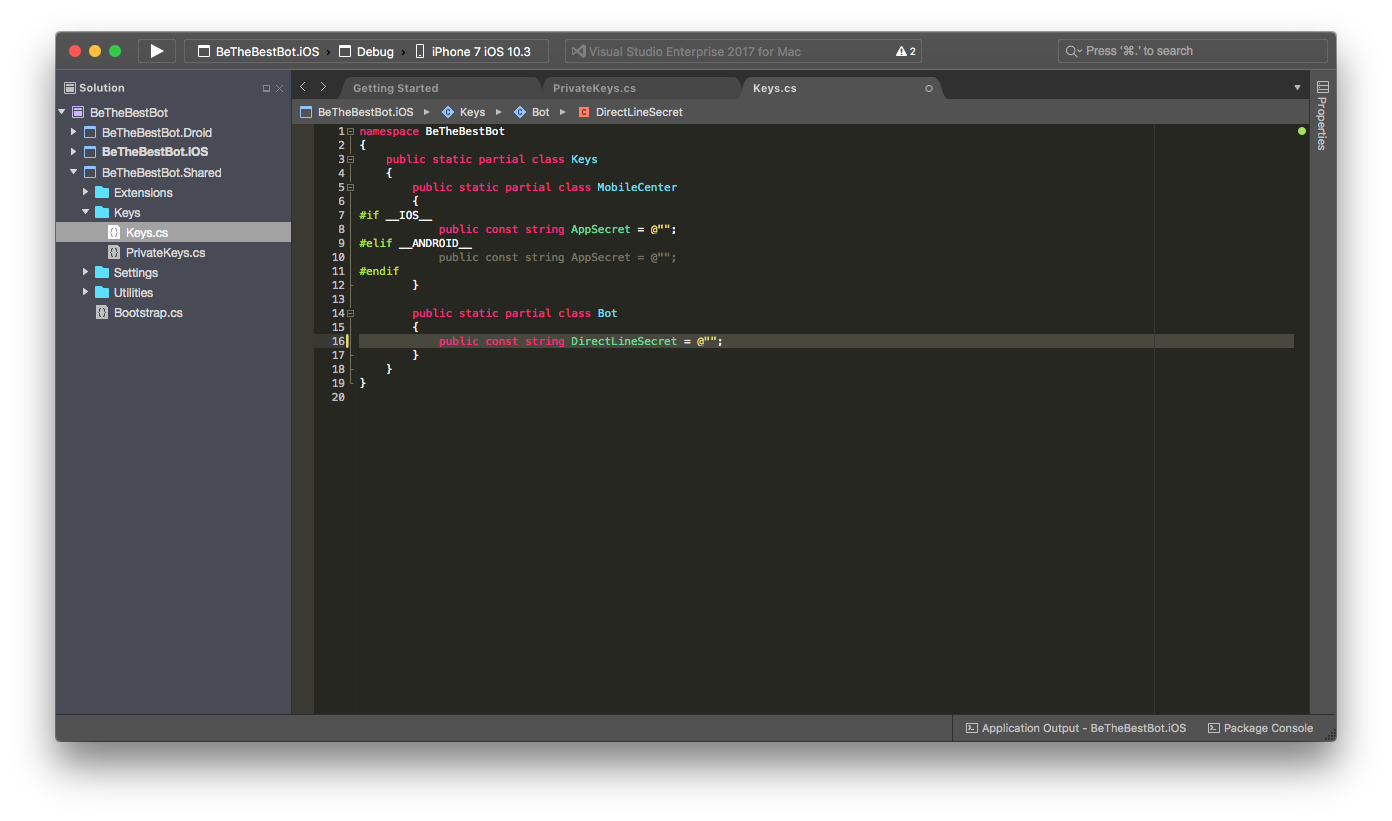
Now that we have the secret, return to Visual Studio for Mac and open (if it’s not already) the app solution we created earlier.
In the Solution Explorer open the Keys.cs located in the Keys directory of the Shared project, and paste in the Direct Line secret for the value of DirectLineSecret on line 16.
Build and Run the App
Finally, build and run the app on the iOS Simulator and interact with your bot:
- Type
Hiin the chat window and press return - Type
What's the Direct Line channel?and press return